
Why Are My Tomatoes Black on the Bottom? Common Problems Explained
If you’ve noticed dark, leathery patches forming on the bottom of your tomatoes, you’re likely dealing with a common condition called blossom end rot. These unsightly spots can start small but often spread, threatening your garden’s bounty and leaving you frustrated with damaged fruit. While the black spots might seem alarming, they’re actually a sign of specific growing conditions that you can identify and fix. Let’s explore why this happens and discover practical solutions to protect your tomato harvest.
Contents
- 1 Understanding Blossom End Rot: What Causes Black Spots
- 2 Identifying the Signs and Symptoms
- 3 The Role of Calcium Deficiency
- 4 Water Management and Soil Moisture
- 5 Prevention Strategies for Healthy Tomatoes
- 6 Treatment Methods and Solutions
- 7 Best Varieties Resistant to Bottom Rot
- 8 Companion Plants That Help Prevent Black Spots
- 9 Frequently Asked Questions
- 9.1 Can Black-Bottomed Tomatoes Still Be Eaten Safely if Cut Around Affected Areas?
- 9.2 How Quickly Does Blossom End Rot Spread to Other Tomatoes?
- 9.3 Does Blossom End Rot Affect Indoor Hydroponic Tomato Plants Differently?
- 9.4 Can Overripe Tomatoes Develop Black Bottoms Unrelated to Blossom End Rot?
- 9.5 Will Tomatoes With Black Bottoms Continue Ripening Normally on the Vine?
Understanding Blossom End Rot: What Causes Black Spots
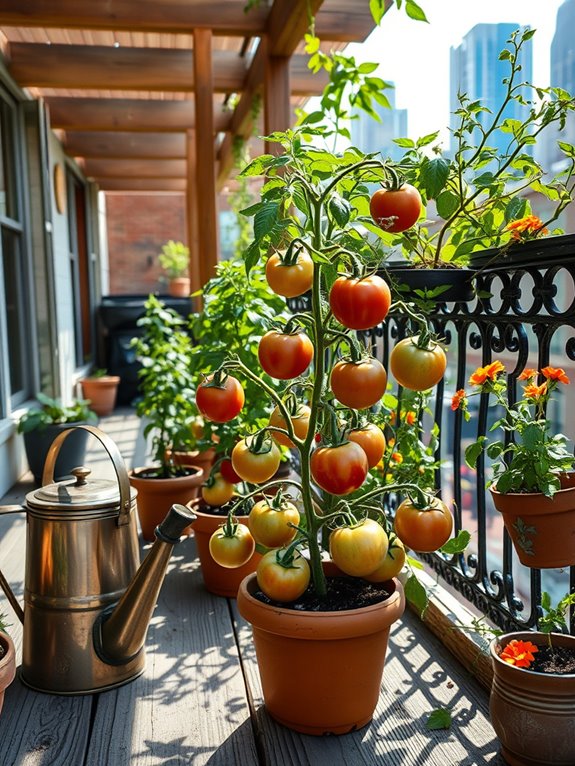
While growing tomatoes can be rewarding, blossom end rot often frustrates gardeners when dark, leathery spots appear on the bottom of their ripening fruit. This common disorder develops when your plants can’t absorb enough calcium from the soil, even if plenty is present. You’ll first notice small, water-soaked spots that gradually expand into sunken, black or brown patches on the fruit’s bottom.
The condition typically occurs due to inconsistent watering, damaged roots, or high soil acidity that prevents proper calcium uptake. If you’re growing tomatoes in containers or raised beds, you’ll need to pay extra attention to moisture levels, as these environments dry out quickly. The good news is that you can prevent future fruits from developing blossom end rot by maintaining steady soil moisture and ensuring proper calcium availability.
Identifying the Signs and Symptoms
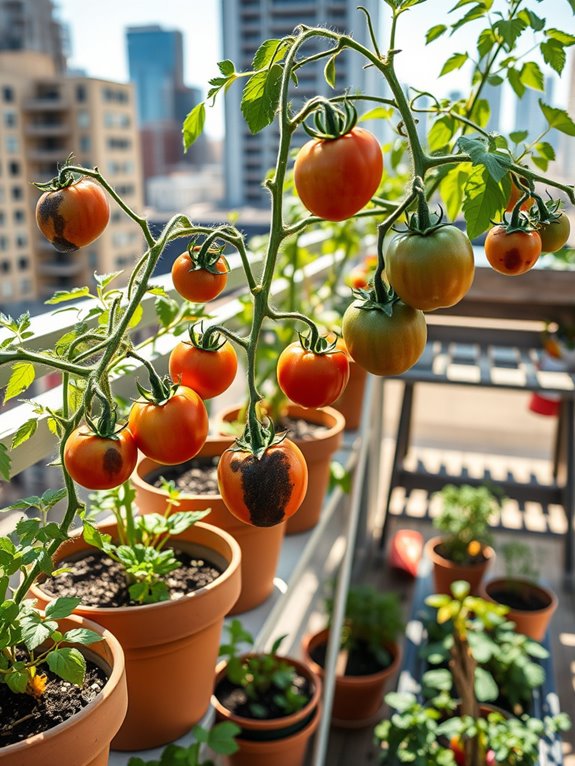
Three key warning signs help you spot blossom end rot in its early stages. You’ll first notice small, water-soaked spots developing at the bottom (blossom end) of your green tomatoes. These spots quickly darken, becoming brown, leathery patches that feel sunken to the touch. As the condition progresses, the affected areas turn black and can expand to cover up to half of the fruit’s bottom surface.
Look for these telltale symptoms when your tomatoes are about half their mature size. The discoloration starts as a dime-sized spot but spreads rapidly, creating a flat or concave surface that’s distinctly darker than the surrounding fruit. While the rest of the tomato may appear perfectly healthy, these black spots make the fruit inedible and won’t improve as the tomato ripens.
The Role of Calcium Deficiency
Understanding these warning signs leads us to their root cause: a lack of calcium in your tomato plants. Your tomatoes can’t properly develop their cell walls without enough calcium, leading to those dark, sunken spots at the blossom end. While you might have calcium in your soil, your plants aren’t always able to absorb it effectively.
| Factor | Impact on Calcium Uptake |
|---|---|
| Water | Irregular watering blocks absorption |
| pH Level | Too high or low prevents uptake |
| Root Health | Damaged roots can’t transport calcium |
You’ll notice these symptoms most often during periods of rapid growth, especially when the fruit is developing. If you’re growing tomatoes in containers or sandy soil, you’re more likely to encounter calcium deficiency issues because these conditions make it harder for plants to access nutrients consistently.
Water Management and Soil Moisture
Proper water management makes the difference between thriving tomato plants and struggling ones that develop problems. You’ll want to maintain consistently moist soil that’s neither waterlogged nor bone dry. Check the soil moisture by inserting your finger about 2 inches deep – if it feels dry at that depth, it’s time to water.
Water your tomatoes deeply at the base of the plant, avoiding the leaves and fruit. A soaker hose or drip irrigation system works best for delivering steady moisture directly to the roots. During hot summer days, you might need to water daily, while cooler weather requires less frequent watering. Adding a 2-3 inch layer of organic mulch around your plants helps retain moisture, regulate soil temperature, and prevent water from evaporating too quickly.
Prevention Strategies for Healthy Tomatoes
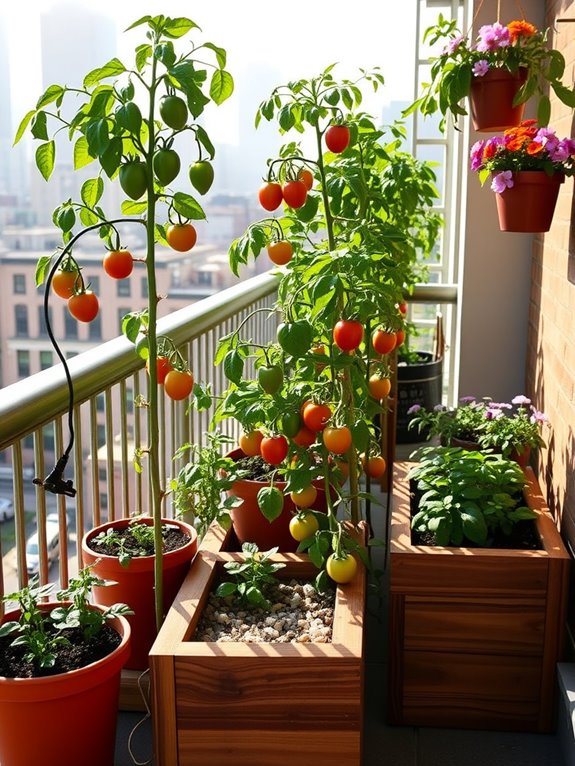
While good watering practices set the foundation, implementing preventive measures gives your tomato plants the best chance of staying healthy throughout the growing season. You’ll want to focus on proper spacing, soil preparation, and protective barriers to prevent common issues before they start.
| Prevention Area | Key Action | Expected Benefit |
|---|---|---|
| Plant Spacing | Place 24-36″ apart | Improves airflow |
| Soil Health | Add calcium-rich amendments | Prevents blossom end rot |
| Physical Protection | Install cages or stakes | Keeps fruit off ground |
Start your prevention routine by testing your soil’s pH level and adding organic matter like aged compost. Plant your tomatoes in full sun, using mulch to retain moisture and block weeds. Don’t forget to sanitize your tools and rotate your planting locations yearly to minimize disease risk.
Treatment Methods and Solutions
Effective treatment begins with quickly identifying and addressing tomato problems as they emerge. If you spot black, leathery patches on your tomatoes’ bottoms, remove affected fruits immediately and adjust your watering schedule to prevent further blossom end rot. For cracked tomatoes, maintain consistent soil moisture and apply a layer of organic mulch around plants to regulate water uptake.
When dealing with leaf spots or blights, prune away infected foliage using clean, sharp scissors and dispose of diseased material in sealed bags. You’ll want to spray affected plants with an approved copper-based or organic fungicide, following label instructions carefully. For pest issues like hornworms or aphids, handpick larger insects and treat with insecticidal soap or neem oil. Remember to rotate your tomato growing locations yearly to break disease cycles.
Best Varieties Resistant to Bottom Rot
Several outstanding tomato varieties offer strong natural resistance to bottom rot, giving you reliable options for a successful harvest. You’ll find these resilient cultivars produce healthy, unblemished fruits throughout the growing season.
| Variety Name | Resistance Level | Key Features |
|---|---|---|
| Roma VF | High | Firm, meaty, oval fruits |
| Mountain Pride | Very High | Large, red beefsteak type |
| Marglobe | High | Round, crack-resistant |
| Celebrity | Very High | Medium-sized, versatile |
| Better Boy VFN | High | Classic slicing tomato |
For best results, select these resistant varieties and combine them with proper watering practices and good soil drainage. You’ll appreciate how these hardy plants stand up to challenging conditions while delivering flavorful, disease-free tomatoes. These varieties also show excellent resistance to other common problems like wilting and cracking, making them ideal choices for both beginner and experienced gardeners.
Companion Plants That Help Prevent Black Spots
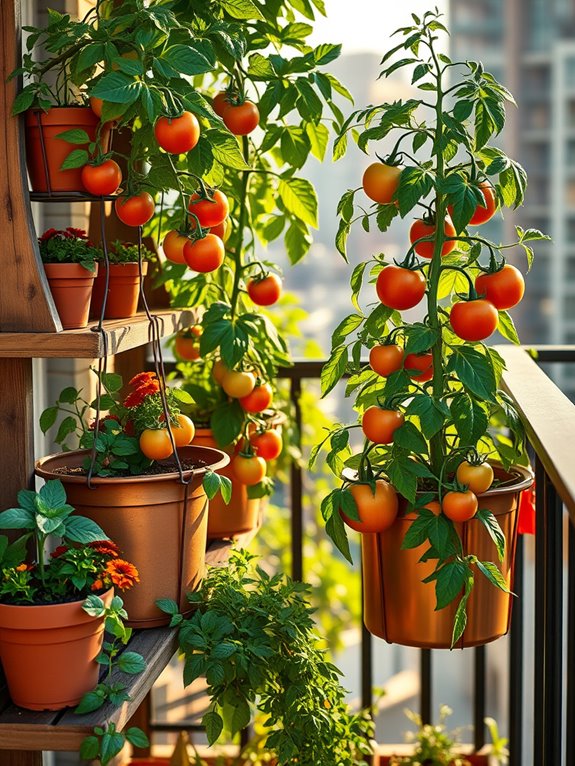
Growing the right companion plants alongside your tomatoes provides natural protection against destructive black spots. Fragrant herbs like basil, oregano, and thyme release natural oils that repel fungal spores, while marigolds’ strong roots help prevent soil-borne diseases that can cause black spots. Plant these companions in a circle around your tomatoes, spacing them 12-18 inches apart.
You’ll also want to add garlic and chives between your tomato plants, as their antimicrobial properties create a protective barrier. Nasturtiums work as natural fungicides when planted at the base of tomato stems, and their bright orange and yellow blooms attract beneficial insects. For best results, place taller herbs like dill and fennel on the north side of your garden so they won’t shade your tomatoes while still offering their protective benefits.
Frequently Asked Questions
Can Black-Bottomed Tomatoes Still Be Eaten Safely if Cut Around Affected Areas?
You can safely eat black-bottomed tomatoes by cutting away the affected areas and using the healthy portions. Just remove all discolored parts completely, and make sure there’s no mold present before consuming.
How Quickly Does Blossom End Rot Spread to Other Tomatoes?
You’d think tomatoes plot against each other, but blossom end rot doesn’t actually spread between fruits. It’s a calcium deficiency that affects individual tomatoes as they develop, not a contagious disease you’ll need to worry about.
Does Blossom End Rot Affect Indoor Hydroponic Tomato Plants Differently?
You’ll find that hydroponic tomatoes can still get blossom end rot, but you’ve got better control over calcium levels and water uptake indoors. It’s actually easier to prevent and manage in hydroponic systems.
You’ll see a million overripe tomatoes turn dark on the bottom. When you’ve left them too long, they’ll naturally blacken and rot where they rest, but that’s different from blossom end rot.
Will Tomatoes With Black Bottoms Continue Ripening Normally on the Vine?
If your tomatoes have black bottoms, they won’t ripen normally. You’ll want to remove affected fruits since the rot will continue to spread, and the damaged portion won’t improve even if other areas redden.