
Why Are My Tomatoes Black on the Bottom? Causes & Solutions
When you spot those disheartening dark patches on your prized beefsteak tomatoes, you’re likely dealing with blossom end rot, a common but frustrating garden problem. If you’ve noticed these black, leathery spots forming on the bottom of your tomatoes where the blossom once was, you’re not alone – it’s an issue that affects countless gardeners each season. While the sight of these damaged fruits can be discouraging, understanding the underlying causes will help you protect your future harvests and enjoy those juicy, unblemished tomatoes you’re hoping for.
Contents
- 1 Understanding Blossom End Rot: The Science Behind Black Spots
- 2 Common Signs and Symptoms to Watch For
- 3 Calcium Deficiency: The Primary Culprit
- 4 Environmental Factors That Trigger Black Spots
- 5 Watering Practices That Help Prevent Dark Patches
- 6 Soil Testing and Ph Balance Solutions
- 7 Best Fertilization Methods for Healthy Tomatoes
- 8 Natural and Chemical Treatment Options
- 9 Preventive Measures for Future Growing Seasons
- 10 Selecting Blossom End Rot Resistant Varieties
- 11 Frequently Asked Questions
- 11.1 Can I Still Eat Tomatoes That Have Black Spots on the Bottom?
- 11.2 How Quickly Does Blossom End Rot Spread to Other Tomatoes?
- 11.3 Will Companion Planting Help Prevent Black Spots on My Tomatoes?
- 11.4 Do Black Spots on Tomatoes Make the Seeds Unviable for Future Planting?
- 11.5 Should I Remove Affected Tomatoes From the Vine Immediately?
Understanding Blossom End Rot: The Science Behind Black Spots
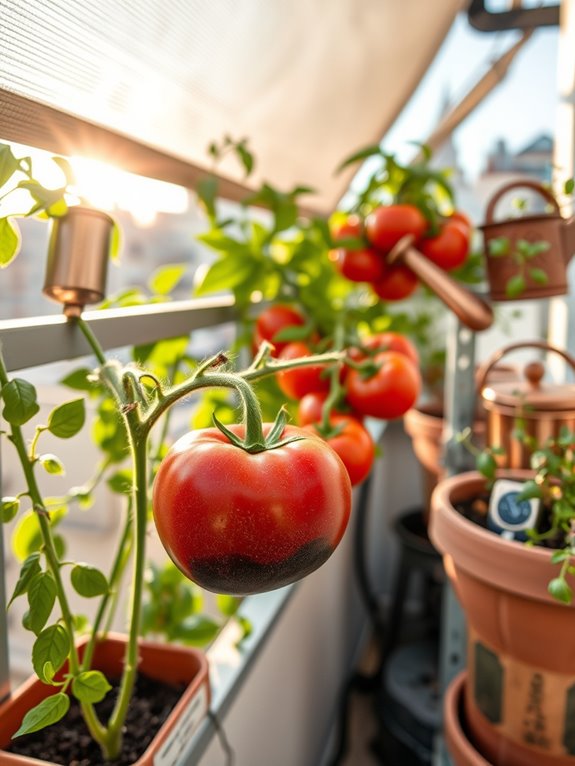
When you notice dark, leathery patches forming on the bottom of your tomatoes, you’re likely dealing with blossom end rot, a common physiological disorder that affects tomato fruits. This condition occurs when your plants can’t absorb enough calcium from the soil, even if there’s plenty available.
The process begins with small, water-soaked spots on the blossom end (bottom) of the fruit, which gradually expand into sunken, black or brown patches. These spots start when the fruit is still green and become more noticeable as your tomatoes ripen. Inside the fruit, the affected tissue turns dry, leathery, and flat, while the surrounding flesh remains firm and healthy. The condition isn’t caused by a disease or pest but rather results from a complex interaction between calcium uptake, water availability, and your plant’s growing conditions.
Common Signs and Symptoms to Watch For
Early detection of black bottom tomatoes can save your harvest from significant losses. You’ll first notice small, water-soaked spots appearing on the blossom end of your developing fruits. These spots start as light brown patches but quickly darken to black, leathery lesions that sink inward, creating a distinctive depression.
Watch for affected tomatoes that show discoloration when they’re still green and growing. The dark spots typically measure between 1/2 to 1 inch in diameter and feel dry or leathery to the touch. You’ll see a clear line between healthy tissue and damaged areas, with the black portion appearing sunken and flat. If you cut into an affected tomato, you’ll notice the internal flesh near the black spot is tough, discolored, and sometimes shows signs of secondary rot or mold growth.
Calcium Deficiency: The Primary Culprit
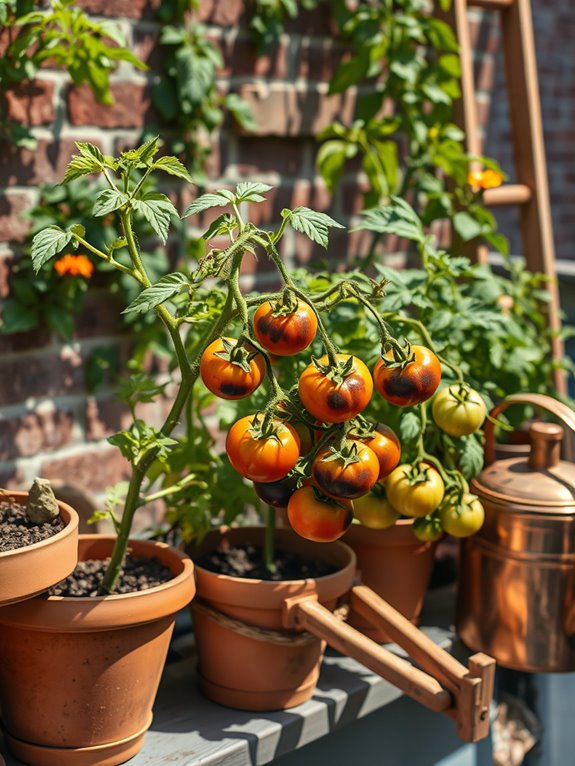
Although calcium deficiency doesn’t sound serious at first, it’s actually the leading cause of black bottom tomatoes in home gardens across the country. Your plants may have plenty of calcium in the soil, but they can’t always absorb it effectively, especially during periods of inconsistent watering or high humidity.
When your tomato plants can’t get enough calcium, they develop a condition called blossom end rot, which appears as dark, leathery patches on the bottom of your fruits. The tissue breaks down, creating sunken areas that start as small water-soaked spots and gradually expand into black, decaying lesions. You’ll notice this issue most often on the first tomatoes of the season, particularly in fast-growing varieties like Roma, plum, and elongated types that need more calcium than round varieties.
Environmental Factors That Trigger Black Spots
Beyond calcium deficiency, several environmental conditions can combine to create the perfect storm for black bottom tomatoes in your garden. When hot, dry weather strikes, you’ll notice your plants struggling to move water and nutrients effectively through their tissues. Inconsistent watering patterns, where soil alternates between bone-dry and waterlogged, disrupt the plant’s ability to absorb calcium, even when it’s present in the soil. High humidity levels, especially during flowering and fruit development, can also trigger blossom end rot by interfering with proper water movement. You’ll often see these problems worsen when temperatures soar above 90°F, particularly in container gardens or raised beds where soil moisture fluctuates dramatically. Strong winds and intense sunlight can further stress your plants, making them more susceptible to developing those frustrating black spots.
Watering Practices That Help Prevent Dark Patches
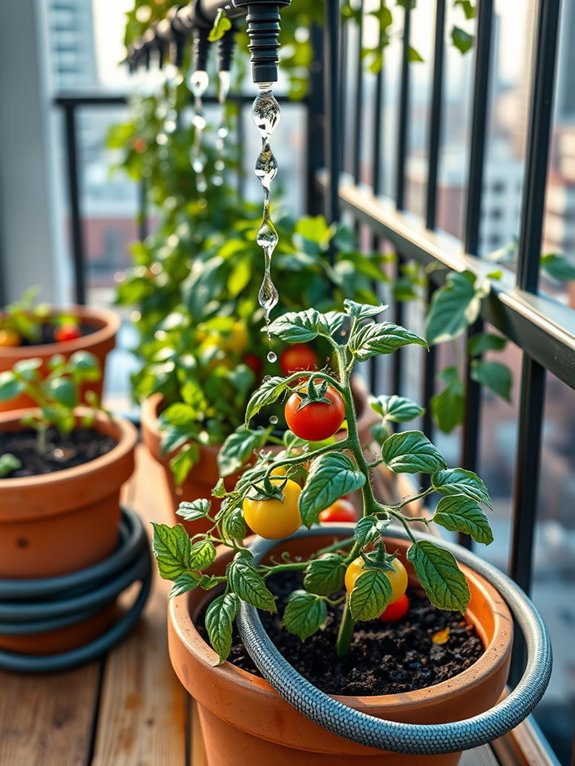
Proper watering techniques stand at the forefront of preventing those frustrating black spots on your tomatoes. You’ll want to maintain consistent soil moisture by watering deeply at the base of your plants, using soaker hoses or drip irrigation systems for even distribution. Give your tomatoes 1-2 inches of water weekly, adjusting for rainfall and temperature.
Don’t let your soil swing between bone-dry and waterlogged conditions, as this stress triggers blossom end rot and those telltale black patches. Instead, check soil moisture daily by inserting your finger 2-3 inches deep – if it’s dry at that depth, it’s time to water. Apply a 2-3 inch layer of organic mulch around your plants to retain moisture, keep soil temperatures steady, and prevent water from splashing onto fruits. This creates an ideal environment where your tomatoes can thrive without developing dark spots.
Soil Testing and Ph Balance Solutions
Understanding your soil’s pH and nutrient levels serves as a critical first step in preventing black bottom tomatoes. You’ll need a reliable soil testing kit from your local garden center to check if your soil falls within the ideal pH range of 6.0 to 6.8. If your test reveals acidic soil below 6.0, mix in crushed limestone or wood ash to raise the pH. For alkaline soil above 6.8, add sulfur or peat moss to lower it.
Once you’ve balanced your soil’s pH, guarantee proper calcium levels by incorporating bone meal, crushed eggshells, or gypsum into your garden bed. Mix these amendments thoroughly into the top 6 inches of soil before planting. For actively growing tomato plants, you can apply calcium nitrate as a side dressing, working it gently into the soil around each plant’s base.
Best Fertilization Methods for Healthy Tomatoes
A balanced fertilization strategy helps your tomatoes thrive and complements the calcium-rich soil foundation you’ve created. Apply a 5-10-5 fertilizer when your plants first go into the ground, then switch to a phosphorus-rich 3-15-3 mix once flowers appear.
| Growth Stage | Fertilizer Type | Application Rate |
|---|---|---|
| Planting | 5-10-5 | 2 tbsp/plant |
| Flowering | 3-15-3 | 1 tbsp/plant |
| Fruiting | 4-7-10 | 3 tbsp/plant |
Your tomatoes need consistent feeding throughout the growing season. Mix granular fertilizer into the top 3 inches of soil, keeping it away from the plant’s stem to prevent burning. You’ll see the best results by fertilizing every 4-6 weeks, adjusting the amount based on your plant’s growth and leaf color.
Natural and Chemical Treatment Options
When black bottom spots appear on your tomatoes, you’ll need both natural and chemical solutions to effectively tackle the problem. Start by applying crushed eggshells or calcium tablets directly around the base of your plants to boost calcium levels naturally. You can also spray a mixture of milk and water (1:1 ratio) onto the leaves and soil weekly.
For chemical treatments, calcium chloride sprays work quickly to prevent further damage. Apply a commercial calcium solution every 7-10 days during fruit development, focusing on the lower leaves and developing tomatoes. You’ll find these products at garden centers under names like “Stop Rot” or “Blossom End Rot Spray.” Combine these treatments with proper watering and mulching to maintain consistent soil moisture, which helps your plants absorb calcium more efficiently.
Preventive Measures for Future Growing Seasons
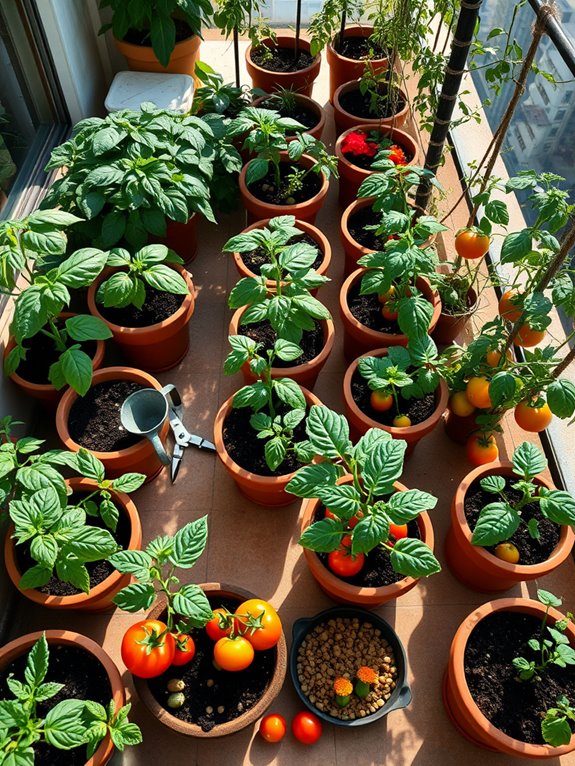
Prevention starts long before you plant next season’s tomatoes, building on the treatment methods you’ve already learned. Begin by testing your soil’s pH level and calcium content in fall, then amend the soil with lime or gypsum as needed. You’ll want to rotate your tomato beds to fresh locations every season, choosing spots with excellent drainage and full sun.
During winter planning, select blossom end rot-resistant varieties and start collecting clean eggshells to crush for spring planting. When it’s time to plant, mix your saved eggshells into each planting hole, alongside slow-release calcium supplements. Set up a consistent watering schedule using soaker hoses or drip irrigation to maintain even soil moisture. Remember to mulch around your plants with straw, leaves, or newspaper to prevent moisture fluctuations that lead to nutrient deficiencies.
Selecting Blossom End Rot Resistant Varieties
Some tomato varieties naturally resist blossom end rot better than others, making them excellent choices for gardens with calcium-uptake challenges. When you’re planning your next growing season, consider these proven performers that’ll help you avoid those frustrating black bottoms while delivering delicious, healthy fruit.
- Roma VF tomatoes display strong resistance and produce firm, meaty fruit that’s perfect for sauces and canning
- Mountain Pride varieties thrive in hot climates and develop thick walls that help prevent calcium deficiency
- Celebrity tomatoes offer reliable disease resistance along with abundant medium-sized fruit throughout the season
- San Marzano plants consistently produce long, thick-walled fruit that rarely shows signs of blossom end rot
Choose these varieties to give yourself the best chance of harvesting beautiful, rot-free tomatoes all season long.
Frequently Asked Questions
Can I Still Eat Tomatoes That Have Black Spots on the Bottom?
You shouldn’t eat tomatoes with black spots on the bottom – they’re affected by blossom end rot. While not harmful, these areas are tough and bitter. Cut off the black parts, and the rest is safe.
How Quickly Does Blossom End Rot Spread to Other Tomatoes?
Blossom end rot won’t spread to other tomatoes because it’s not a disease – it’s a calcium deficiency issue. You’ll only see it develop on individual fruits as they grow, not spread between plants.
Will Companion Planting Help Prevent Black Spots on My Tomatoes?
Companion planting won’t directly prevent black spots (blossom end rot) on your tomatoes. While plants like basil and marigolds are great tomato companions, they can’t fix the calcium deficiency that’s causing your problem.
Do Black Spots on Tomatoes Make the Seeds Unviable for Future Planting?
Like a dark cloud casting shadows, those black spots won’t rain on your seed-saving parade. You’ll find that most tomato seeds remain viable for planting, as long as they’re from healthy portions of the fruit.
Should I Remove Affected Tomatoes From the Vine Immediately?
Yes, you’ll want to remove affected tomatoes right away. They won’t recover once blossom-end rot starts, and removing them helps the plant redirect energy to developing healthy fruit instead.