
How to Overwinter Dahlias: A Step-by-Step Guide
While you might think overwintering dahlias is a challenging task, you’ll find it’s actually a straightforward process that’ll save you money and preserve your favorite varieties. As autumn’s first frost approaches, you’ll need to protect these tender tubers through a series of simple but vital steps that make the difference between vibrant spring blooms and disappointing losses. Let’s explore how you can master this essential gardening skill and guarantee your dahlias return year after year.
Contents
- 1 When to Lift Your Dahlias
- 2 Tools and Materials Needed
- 3 Preparing Dahlias for Winter Storage
- 4 Cleaning and Dividing Tubers
- 5 Treating for Disease and Pests
- 6 Optimal Storage Conditions
- 7 Monitoring During Winter Months
- 8 Common Storage Problems and Solutions
- 9 Spring Wake-Up and Replanting
- 10 Growing Zone Considerations and Alternatives
- 11 Frequently Asked Questions
- 11.1 Can I Overwinter Dahlias in Containers Instead of Lifting Them?
- 11.2 What Color Changes in Dahlia Tubers Indicate They’ve Gone Bad?
- 11.3 How Many Years Can I Successfully Store and Reuse Dahlia Tubers?
- 11.4 Will Overwintered Dahlias Produce the Same Flower Colors as Before?
- 11.5 Can I Store Dahlia Tubers With Other Flower Bulbs in Winter?
When to Lift Your Dahlias
The best time to lift your dahlias comes right after the first frost has knocked down onto your plants, usually in late autumn when the foliage turns black and limp. You’ll know it’s time when the stems darken and feel soft to the touch, while the once-vibrant leaves droop sadly toward the ground.
Don’t wait too long after this first frost, though, as you’ll want to dig up your tubers before the ground freezes solid. If you’re in a warmer climate where frost isn’t common, watch for your plants to naturally begin dying back when temperatures consistently dip below 50°F (10°C). Once the stems are blackened, cut them back to about 6 inches above ground level, which will make handling the plants much easier during the lifting process.
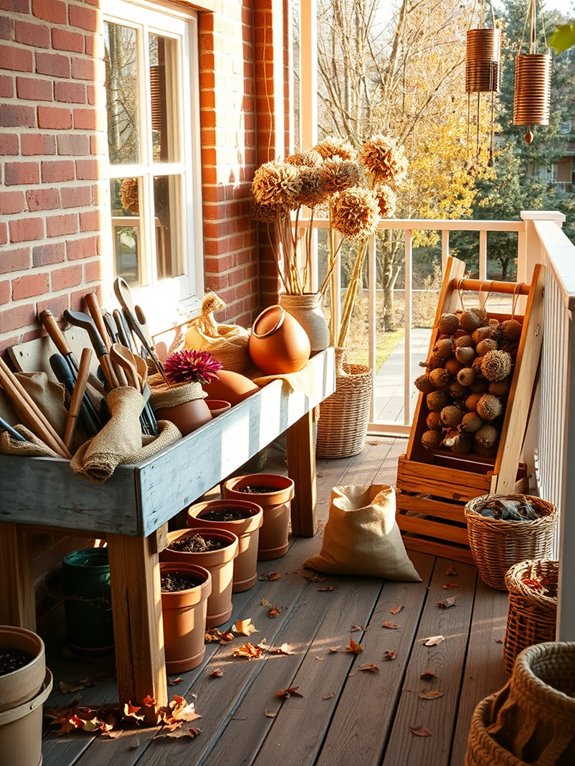
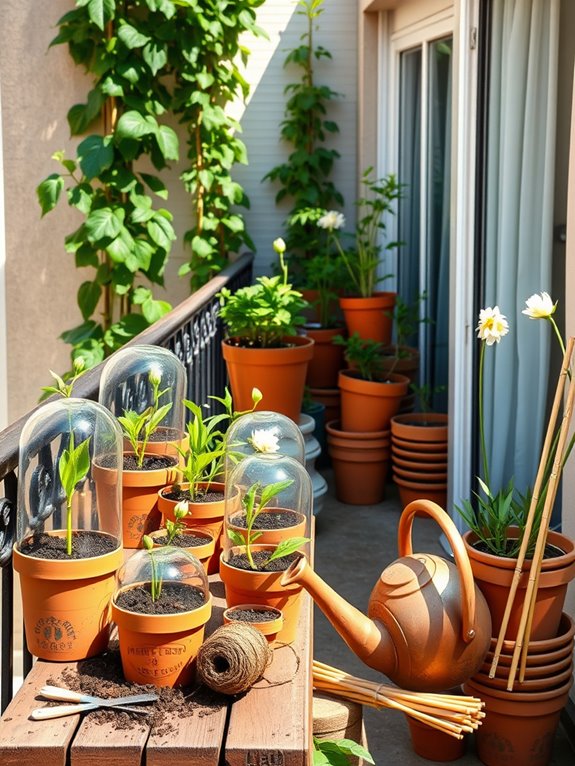
Tools and Materials Needed
Before heading out to lift your dahlias, gathering the right set of tools will make the process smooth and efficient. You’ll need clean, sturdy equipment to protect both you and your precious tubers during the lifting process.
- Garden tools: Sharp pruning shears, a sturdy garden fork, and a clean spade for digging and lifting
- Cleaning supplies: Garden hose with adjustable nozzle, soft brush, and clean cloth to remove soil
- Storage materials: Cardboard boxes, plastic crates, or mesh bags filled with dry peat moss, vermiculite, or wood shavings
- Labeling items: Waterproof markers, plant tags, and zip-top bags to keep track of varieties
Store these tools in an easily accessible spot in your garden shed or garage, and you’ll be ready to tackle the dahlia lifting process with confidence.
Preparing Dahlias for Winter Storage
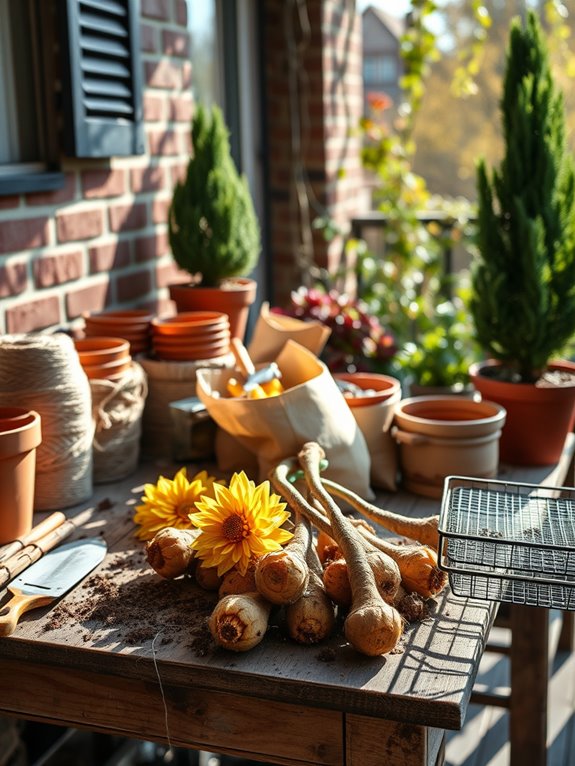
Successful dahlia storage starts with proper preparation in late fall, when your plants begin showing signs of seasonal decline. Wait until after the first frost has blackened the foliage, then cut the stalks down to about 6 inches above ground level. Using a garden fork, carefully lift the tuber clumps from the soil, being mindful not to pierce or damage the roots.
Gently shake off excess soil and rinse the tubers with a light spray of water, making sure to remove any remaining dirt, insects, or debris. Let them air dry in a sheltered, well-ventilated area for 24 hours. Inspect each tuber for signs of rot, disease, or damage, and trim away any soft, mushy, or discolored sections with clean, sharp pruners. Label each variety with a waterproof marker or tag before moving on to storage.
Cleaning and Dividing Tubers
While your dahlia tubers may look clean after their initial rinse, proper cleaning and dividing requires careful attention to detail and the right tools. You’ll need sharp, clean pruning shears, a gentle scrub brush, and fresh water to prepare your tubers for winter storage. Examine each clump carefully, looking for firm, healthy tubers with visible growth eyes near the crown.
- Gently brush away loose soil from the tuber clumps using circular motions, being careful not to damage the skin
- Trim off any rotted, soft, or damaged sections until you see healthy tissue
- Cut the clump into sections, ensuring each division has at least one eye and is attached to a piece of crown
- Allow the cut surfaces to dry for 24 hours in a well-ventilated area before storing
Treating for Disease and Pests
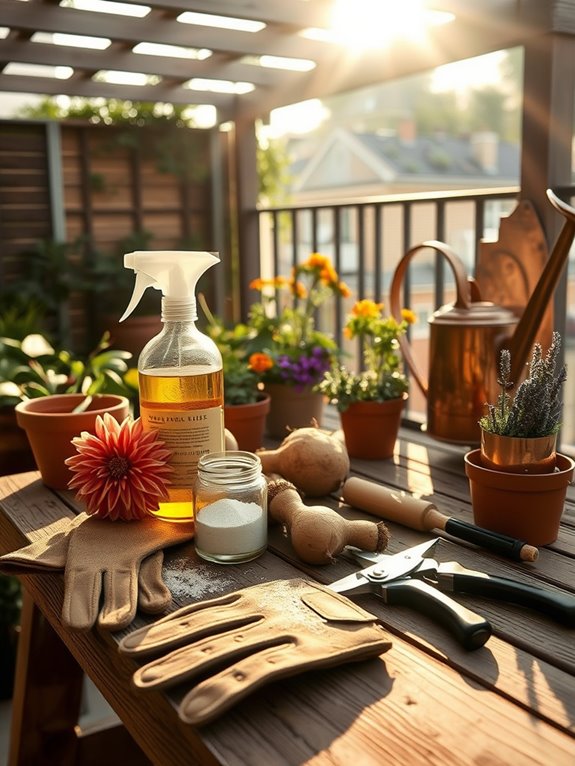
After your dahlia tubers are clean and divided, protecting them from diseases and pests becomes your next priority. Inspect each tuber carefully for signs of rot, mold, or insect damage, removing any affected portions with a clean, sharp knife. You’ll want to dust the cut surfaces with sulfur powder or fungicide to prevent future infections.
Look closely for tiny holes, dark spots, or soft areas that might indicate pest problems. If you find any suspicious sections, trim them away and treat the remaining healthy tissue with an organic insecticidal powder. Don’t forget to examine the crown and neck areas where rot often begins. When you’re done treating the tubers, let them air dry completely before storage. For extra protection, you can spray the tubers with a light coating of anti-fungal solution that’ll help prevent problems during winter storage.
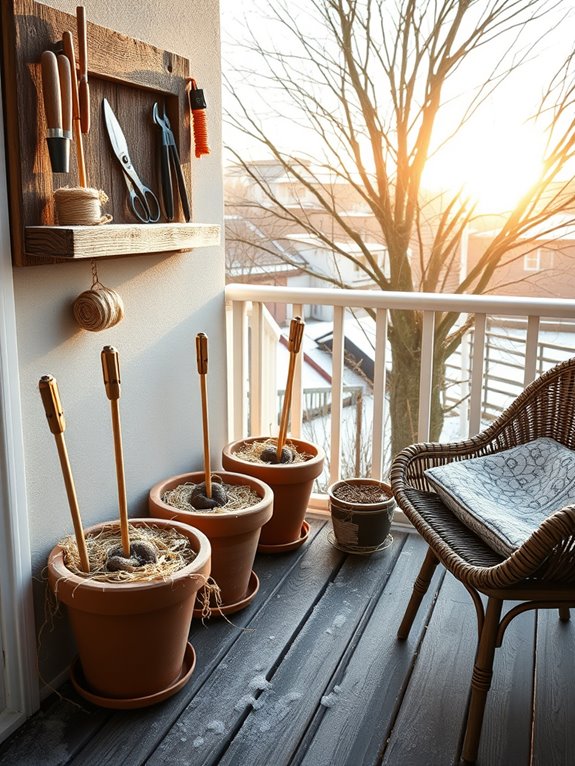
Optimal Storage Conditions
Once you’ve treated your dahlia tubers, storing them in the right conditions becomes essential for winter survival. Your tubers need a cool, dark environment that maintains consistent temperature and humidity levels throughout the dormant months. Select a space like a basement, garage, or root cellar that stays between 40-50°F (4-10°C).
- Pack tubers in breathable containers filled with slightly damp peat moss, vermiculite, or sawdust
- Check moisture levels monthly – the packing material should feel like a wrung-out sponge
- Maintain air circulation by using containers with ventilation holes or mesh sides
- Keep tubers away from fruits and vegetables, which release ethylene gas that can cause premature sprouting
Monitor your stored tubers regularly for signs of rot, shriveling, or mold. If you notice any issues, remove affected tubers immediately to prevent spread to healthy ones.
Monitoring During Winter Months
How frequently should you check on your stored dahlia tubers during their winter dormancy? It’s important to inspect your tubers every 2-3 weeks throughout the storage period, looking carefully for signs of rot, mold, or shriveling.
When you check your tubers, gently touch them to confirm they’re firm but not mushy. If you notice any soft spots, black areas, or fuzzy mold growth, remove the affected tubers immediately to prevent spread to healthy ones. You’ll want to maintain consistent temperature and humidity levels, so keep a thermometer and humidity gauge in your storage area. If tubers appear wrinkled, lightly mist the packing material with water – but don’t get the tubers wet. Remove any tubers that show signs of sprouting too early, as they likely won’t survive until spring planting.
Common Storage Problems and Solutions
Regular monitoring helps catch storage issues early, but even careful gardeners can face common problems with overwintering dahlias.
Watch for these typical storage problems and their solutions:
- Mold growth: If you spot white or gray fuzzy patches, remove affected tubers immediately and dust remaining ones with sulfur powder.
- Shriveling tubers: When tubers become wrinkled from dehydration, mist the packing material lightly or relocate to a slightly more humid area.
- Rotting stems: Cut away any mushy, darkened stem sections until you reach healthy tissue, then dust the cuts with fungicide.
- Premature sprouting: If tubers develop shoots too early, move them to a cooler spot (35-45°F) and verify complete darkness.
Check your stored tubers weekly, maintaining proper temperature and humidity levels to prevent these issues from developing. Quick action often saves affected tubers and protects the rest of your collection.
Spring Wake-Up and Replanting
As spring temperatures begin to warm consistently above 50°F, your stored dahlia tubers need careful awakening from their winter dormancy. Start by removing them from storage and inspecting each clump for firm, healthy eyes. Place the tubers in shallow trays filled with slightly damp potting mix, positioning them so the eyes face upward in bright, indirect light.
You’ll want to give your dahlias a 2-3 week head start before outdoor planting. Once sprouts emerge, transplant them into your garden when soil temperatures reach 60°F. Dig holes 4-6 inches deep, mix in compost, and space plants 18-24 inches apart. Water thoroughly and add stakes now to support future growth. As shoots develop, pinch off the top growth above the third set of leaves to encourage bushier plants with more blooms.
Growing Zone Considerations and Alternatives
Whether you live in USDA zones 8-11 or cooler northern regions, your growing zone dramatically affects how you’ll care for dahlias through winter. In warmer zones, you can often leave tubers in the ground with proper mulching, while northern gardeners must dig and store them indoors.
Consider these zone-specific approaches:
- Zones 8-11: Apply 4-6 inches of mulch over plants after first frost, leaving stems intact for better spring emergence
- Zones 6-7: Add 8-12 inches of heavy mulch, or dig and store tubers in barely damp peat moss
- Zones 3-5: Always dig tubers after first frost, store in ventilated boxes with vermiculite or wood shavings
- Container growing: Move pots to an unheated garage or basement, water sparingly every 4-6 weeks
Choose the method that matches your climate to guarantee healthy, vibrant dahlias year after year.
Frequently Asked Questions
Can I Overwinter Dahlias in Containers Instead of Lifting Them?
While 80% of gardeners lift dahlias, you can overwinter them in containers if you’ll store them in a frost-free spot around 45°F. Just reduce watering, cut back foliage, and keep soil barely moist.
What Color Changes in Dahlia Tubers Indicate They’ve Gone Bad?
You’ll know your dahlia tubers have gone bad if they’re mushy, black, or dark brown. Healthy tubers should be tan or light brown. If you spot any gray mold or rot, they’re no longer viable.
How Many Years Can I Successfully Store and Reuse Dahlia Tubers?
Like a well-preserved treasure, your dahlia tubers can last 3-5 years when you store them properly. With good care, you’ll get multiple growing seasons, but their vigor might gradually decline after this period.
Will Overwintered Dahlias Produce the Same Flower Colors as Before?
Yes, you’ll get the same flower colors when you replant your stored dahlia tubers. Since they’re clones of the parent plant, they’ll produce identical blooms unless they’ve been damaged or diseased during storage.
Can I Store Dahlia Tubers With Other Flower Bulbs in Winter?
Think twice before mixing! You shouldn’t store dahlia tubers with other bulbs, as they’ve got different moisture needs and storage temperatures. Plus, there’s a risk of disease spread between different types of bulbs.