
6 Garden Ideas for Easy-Care Borders
If you’re dreaming of a beautiful garden without the endless maintenance, creating easy-care borders can transform your outdoor space into a manageable paradise. You’ll find that thoughtful planning now leads to years of enjoyment later, with less time spent weeding and more time appreciating your garden’s natural beauty. From selecting the right perennials to implementing smart ground cover strategies, these six proven ideas will help you design borders that practically take care of themselves.
Contents
Choose Low-Maintenance Perennial Plants

A low-maintenance perennial border radiates timeless elegance while requiring minimal effort to maintain its beauty throughout the seasons. Tall purple coneflowers sway gracefully alongside robust black-eyed susans, while carpets of hardy geraniums and coral bells create a lush groundcover beneath. The varying heights and textures create natural layers, with ornamental grasses adding movement and structure even during winter months.
This sustainable garden style delivers year-round interest through carefully selected plants that return reliably each year. Drought-resistant salvias contribute spikes of deep blue or purple, complemented by the silver foliage of lamb’s ears and the golden blooms of daylilies. Each plant plays its role in the garden’s symphony, taking turns to shine while supporting the overall composition.
Key Elements:
- Foundation plants: ornamental grasses, salvias, coneflowers
- Ground cover perennials: hardy geraniums, coral bells
- Structural elements: small shrubs, Russian sage
- Accent plants: daylilies, black-eyed susans
- Mulch or gravel for weed suppression
- Drip irrigation system
- Edge restraints or borders
- All-purpose slow-release fertilizer
Begin by preparing the soil with organic matter and planning your layout with taller plants at the back of the border. Group plants in odd-numbered clusters of three or five to create natural-looking drifts. Install a simple drip irrigation system before planting to ensure consistent watering with minimal effort.
Space plants according to their mature size to prevent overcrowding and reduce future maintenance needs. Consider your specific climate and soil conditions when selecting plants, focusing on native species that naturally thrive in your area. Choose varieties that bloom at different times to maintain continuous interest throughout the growing season. Once established, these perennial borders typically need only annual pruning, occasional division of spreading plants, and seasonal mulching to maintain their beauty.
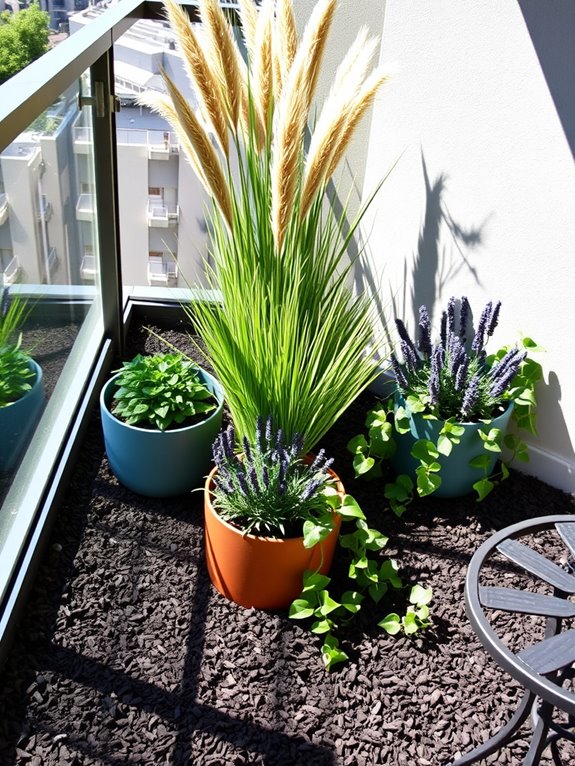
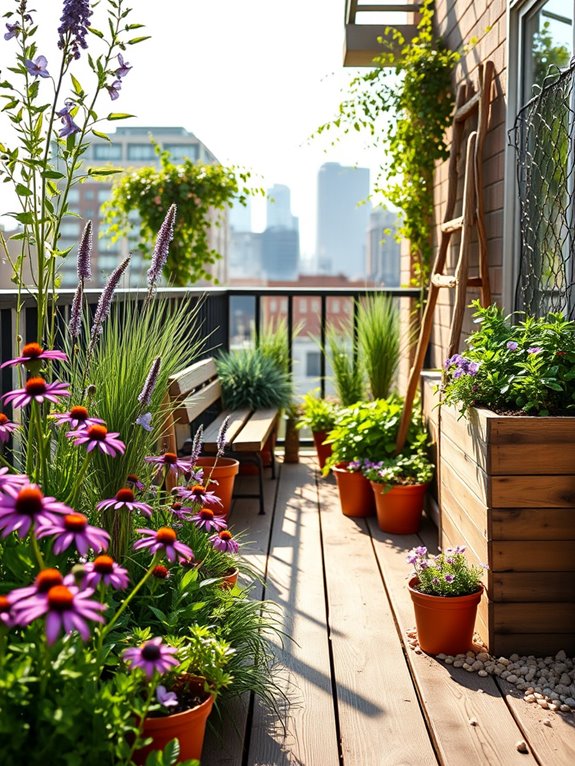
When adapting this style to different spaces, focus on scale-appropriate plants – use dwarf varieties for small gardens or balconies, and consider containers for flexible arrangements. Incorporate vertical elements like climbing perennials for narrow spaces, and use repetition of key plants to create cohesion. For challenging areas, choose plants known for their resilience, such as sedum or lavender, which can thrive in various conditions while maintaining the low-maintenance appeal of your perennial border.
Use Mulch as Your Secret Weapon
A beautifully mulched garden border transforms an ordinary landscape into a polished, professional-looking display. Dark brown or cedar-colored mulch creates a rich, uniform backdrop that makes plants pop with vivid contrast, while pine straw adds a natural, rustic appeal. The clean lines between mulched areas and walkways or lawn spaces create an organized, intentional design that draws the eye through the garden, highlighting architectural plants like ornamental grasses and flowering perennials.
The mulched border serves as nature’s blanket, protecting soil and plant roots while suppressing unwanted weeds. This practical yet attractive ground cover creates a sense of calm and order, allowing specimen plants to take center stage. Whether featuring drought-tolerant salvias and lavender or shade-loving hostas and ferns, the mulched foundation provides an elegant framework that enhances any plant combination while requiring minimal maintenance throughout the growing season.
Key Elements:
- 2-3 inches of organic mulch
- Landscape fabric or cardboard
- Border edging material
- Anchor plants (evergreens or ornamental grasses)
- Flowering perennials
- Garden tools (rake, shovel, wheelbarrow)
- Plant markers or stakes
- Soaker hose or irrigation system
Start by clearing the border area of weeds and unwanted growth, then lay down landscape fabric or cardboard as a weed barrier. Install permanent edging to create clean borders between mulched areas and lawn. Position larger anchor plants first, followed by smaller perennials and groundcovers, maintaining appropriate spacing for mature growth.
Apply a 2-3 inch layer of mulch around plants, keeping it several inches away from plant stems and tree trunks to prevent rot. For optimal results, choose a mulch type that complements your home’s exterior and garden style. Pine bark nuggets work well in formal gardens, while shredded hardwood suits natural landscapes.
Replenish mulch annually in spring, removing any compacted layers first. Water deeply after application to help settle the mulch and provide moisture to plants. In smaller spaces or container gardens, use a finer textured mulch to maintain proper scale.
For balcony gardens or tight spaces, consider using containers with built-in mulch layers or self-watering planters filled with moisture-retaining mulch alternatives like coco coir. Mini-mulch borders can be created using decorative stones or glass mulch for added interest without the bulk of traditional organic materials.
Remember to choose plants appropriate for your growing conditions and maintain proper mulch depth to ensure optimal moisture retention and weed suppression.
Group Plants With Similar Needs
A thoughtfully designed garden border where plants with similar needs grow together creates a harmonious and naturally flowing landscape. Drought-tolerant Mediterranean herbs like lavender, rosemary, and sage blend seamlessly with ornamental grasses and silver-leafed plants, creating a tapestry of textures that dance in the breeze.
Small paths of crushed gravel weave between these grouped plantings, allowing easy access for maintenance while adding a structured element to the natural design. The garden comes alive with complementary groupings that celebrate each season: spring-flowering bulbs emerge beneath deciduous shrubs, while summer perennials like echinacea and rudbeckia form vibrant clusters alongside ornamental grasses that will provide winter interest.
This strategic grouping not only creates visual impact but also simplifies maintenance as plants with similar watering, sunlight, and soil preferences thrive together.
Essential Elements:
- Plants grouped by water requirements
- Matching soil pH preferences
- Similar sunlight needs
- Compatible growth rates
- Seasonal interest combinations
- Access pathways
- Mulch appropriate for plant groups
- Irrigation zones
- Edge boundaries
- Soil amendments by section
To implement this garden style, begin by mapping your space and identifying distinct microclimates – areas with different light, moisture, and soil conditions. Create clear zones based on these conditions, then select plants that share requirements for each area.
Install plants in layers, with taller specimens at the back or center of borders, graduating down to ground covers at the edges. Establish clear boundaries between different plant groups using hardscape elements or deep edging to prevent roots from crossing between zones with different watering needs.
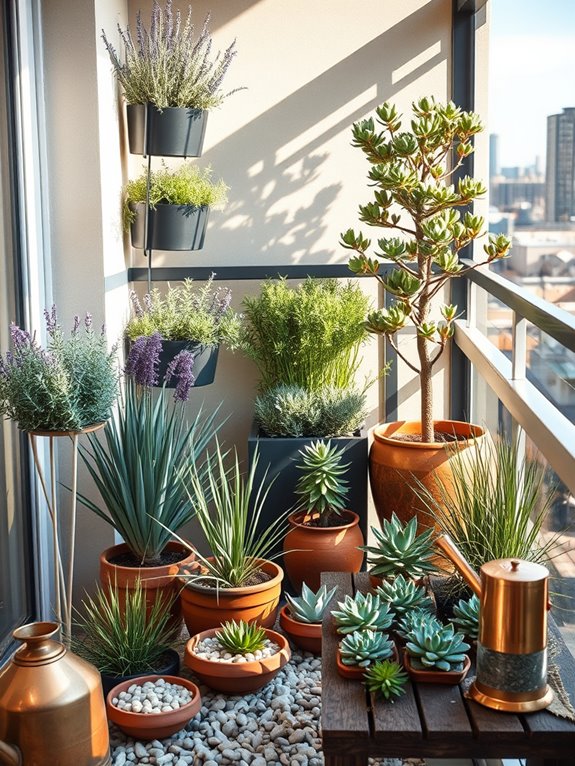
When adapting this concept to different spaces, consider vertical grouping for small gardens or balconies using wall-mounted planters or tiered containers. Group container plants with similar water needs on the same irrigation line or near each other for easy maintenance.
For larger spaces, create defined “rooms” within the garden, each dedicated to plants with specific requirements, connected by paths or transitional plantings that bridge different growing conditions.
Install Permanent Garden Edging
Transform your garden borders from casual to crisp with permanent garden edging that creates clean, defined lines between your lawn and planting beds. The sharp contrast between materials like steel, concrete, or stone edging against lush greenery creates an elegant, professional appearance that elevates the entire landscape.
Well-designed permanent edging frames your garden like artwork, drawing the eye along graceful curves or striking geometric patterns while containing mulch and preventing grass from invading flower beds. These structured boundaries bring order to natural chaos, creating a sophisticated foundation that allows ornamental grasses, flowering perennials, and compact shrubs to shine.
The edging material itself becomes part of the design, whether it’s the industrial chic of cor-ten steel, the timeless appeal of natural stone, or the modern minimalism of poured concrete. This permanent solution not only beautifies but also significantly reduces maintenance time spent re-establishing bed lines each season.
Key Elements:
- Edging material (steel, concrete, stone, or rigid plastic)
- Base material (crushed stone or sand)
- Level and string line
- Landscape fabric
- Garden spade or edging tool
- Rubber mallet
- Mulch
- Complementary border plants
Installation begins with careful planning and marking your desired border shape using string lines and stakes. Dig a trench along the marked line approximately 6 inches deep and 4-6 inches wide, ensuring the bottom is level.
Add a 2-inch layer of crushed stone or sand as a stable base, then install your chosen edging material according to manufacturer specifications. The top edge should sit 1/2 inch above soil level to effectively contain mulch while allowing easy mowing.
For curved sections, choose flexible materials or cut rigid materials into smaller sections to achieve smooth curves. Secure the edging firmly using stakes or by backfilling with soil on both sides. Install landscape fabric along the border to prevent weed growth, then add plants and mulch to complete the design.
Consider your climate and maintenance preferences when selecting edging materials – metal may rust attractively but could require occasional maintenance, while concrete is virtually maintenance-free but less forgiving if you want to change your design later.
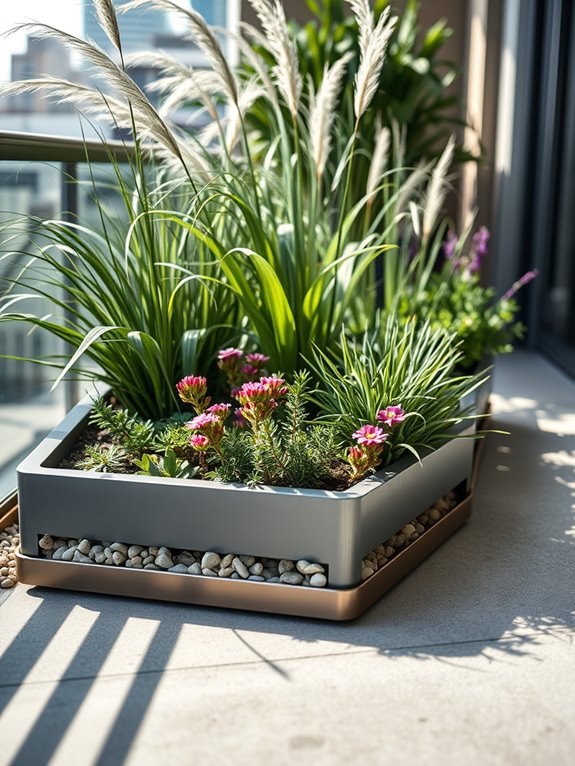
For smaller spaces or balcony gardens, use narrow-profile edging materials and create mini-borders around container groupings to achieve the same organized look on a smaller scale. Remember to incorporate proper drainage solutions, especially when working with solid edging materials that could impede water flow.
Embrace Ground Cover Solutions
Transform your garden borders into a living tapestry with ground cover solutions that create a seamless, low-maintenance landscape. Imagine walking past waves of creeping thyme releasing their aromatic scent with each step, while patches of vibrant sedum and hardy periwinkle weave together in a dense carpet of greens, purples, and blues. Stone pathways peek through the foliage, creating natural stepping points that appear to float above the verdant expanse.
This style of garden brings a sense of unity and flow to your outdoor space, eliminating bare patches and reducing the need for constant weeding. Japanese forest grass cascades elegantly along border edges, while evergreen ground covers like pachysandra provide year-round structure and interest. Small flowering varieties like ajuga add bursts of color throughout the seasons, creating a dynamic yet controlled aesthetic that evolves naturally.
Key Elements:
- Low-growing perennials (thyme, sedum, vinca)
- Ornamental grasses
- Stepping stones or pavers
- Mulch for initial weed control
- Landscape fabric (optional)
- Edging materials
- Soil amendments
- Irrigation system or soaker hoses
Begin implementation by thoroughly preparing the soil, removing existing weeds, and incorporating organic matter. Plant aggressive spreaders like creeping thyme or pachysandra in strategic clusters, spacing them according to their mature spread to ensure complete coverage within two growing seasons.
Install stepping stones or pathways first, then arrange plants around them, ensuring faster-growing varieties are positioned where quick coverage is needed most.
For maintenance and monitoring, establish clear boundaries using physical barriers or sturdy edging to prevent ground covers from invading unwanted areas. Regular trimming of edges and occasional pruning will keep the design looking intentional rather than overgrown.
Water deeply but infrequently to encourage deep root growth, which will result in more drought-resistant plants.
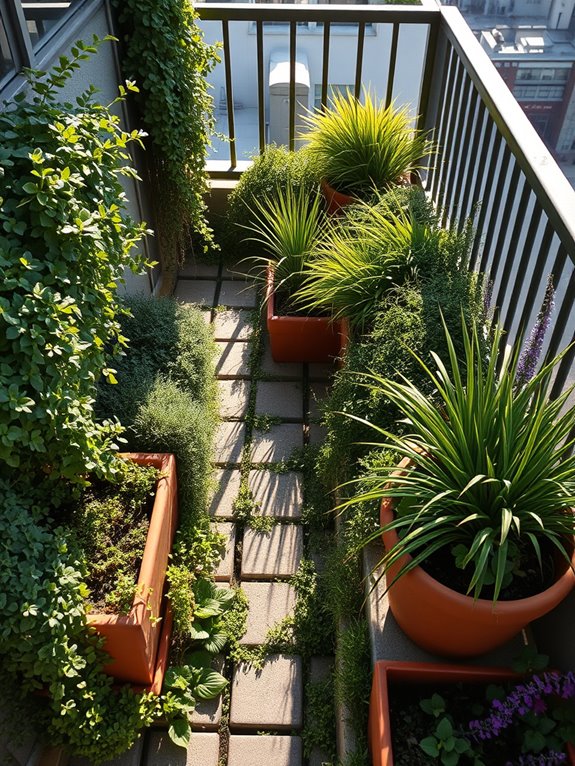
Design adaptations can accommodate various spaces by selecting appropriate plants for specific conditions. For smaller areas or balcony gardens, use containers with trailing plants that cascade over edges, creating the illusion of ground cover.
Consider vertical growth patterns and choose varieties that won’t overwhelm limited spaces. In shade-heavy areas, opt for shade-tolerant species like sweet woodruff or Japanese spurge, while sun-exposed locations benefit from drought-resistant options like sedums or ice plant varieties.
Design With Native Plant Species
A native plant border radiates wild beauty and natural charm while telling the story of your local ecosystem. Swaying purple coneflowers dance among rustic black-eyed Susans, while native grasses like little bluestem create a graceful backdrop that catches golden light at sunset. Butterflies and bees drift from bloom to bloom, turning this low-maintenance space into a living sanctuary that celebrates your region’s natural heritage.
The garden flows through the seasons with an ever-changing display – spring ephemeral wildflowers give way to summer’s blazing colors, followed by fall’s rich seedheads and winter’s architectural forms. Native ferns nestle beneath flowering shrubs like serviceberry and viburnum, while cardinal flowers and native columbine add bold splashes of color that perfectly match your local soil and climate conditions.
Key Elements:
- Regional native perennials
- Indigenous flowering shrubs
- Native ornamental grasses
- Local groundcover species
- Natural stone or wood elements
- Indigenous vines
- Native ferns
- Local wildflowers
- Regional sedges
- Natural mulch materials
Begin by researching plants native to your specific region and growing conditions. Group plants according to their moisture and light requirements, placing taller species toward the back of the border and shorter ones in front. Install plants in naturalistic drifts rather than formal rows, clustering species in odd-numbered groupings.
Add stepping stones or a rustic path to create access points for maintenance.
Maintain the native border by avoiding chemical fertilizers and pesticides that could harm beneficial insects. Remove invasive species promptly and allow beneficial native plants to self-seed naturally where appropriate. Practice selective deadheading to maintain neat appearance while leaving some seedheads for winter interest and wildlife food.
When adapting this style to different spaces, focus on proper plant scaling – use dwarf native varieties for small gardens or balconies, and consider native container plants for very limited spaces.
Research your local native plant societies for species recommendations specific to your area’s conditions, and remember that even a small native garden can create a valuable wildlife corridor in urban settings.